Wallet Setup
Covered in this guide
Section titled “Covered in this guide”In this guide, you will:
- Download and install the Tari Ootle Wallet daemon.
- Connect your wallet to the
esmeraldatestnet. - Create a default account for managing your keys and funds.
- Claim testnet funds from the built-in faucet to pay for transactions.
This guide will walk you through setting up a wallet daemon and connecting it to the esmeralda testnet.
This wallet will allow you to manage your funds and interact with the Tari L2 network.
1. Running a Wallet Daemon
Section titled “1. Running a Wallet Daemon”Download the latest release of the wallet daemon for your platform:
Latest Release: v0.25.3 (2/27/2026)
| Asset Name | Size | Link |
|---|---|---|
tari_ootle_walletd-0.25.3-3c10809-linux-arm64 | 70.10 MB | Download |
tari_ootle_walletd-0.25.3-3c10809-linux-x86_64 | 69.29 MB | Download |
tari_ootle_walletd-0.25.3-3c10809-macos-arm64 | 53.57 MB | Download |
tari_ootle_walletd-0.25.3-3c10809-macos-x86_64 | 59.17 MB | Download |
tari_ootle_walletd-0.25.3-3c10809-windows-x64.exe | 41.69 MB | Download |
Once downloaded, place the executable in a directory of your choice (probably somewhere in your PATH).
On Linux and MacOS, you may need to set execute permission before running it. You can do this with the following command:
# Rename the downloaded file to tari_ootle_walletd for conveniencemv [downloaded-file] tari_ootle_walletd# Set execute permissionchmod +x tari_ootle_walletdCheck that it works by running:
./tari_ootle_walletd --helpStart the wallet daemon with the following command:
# To connect to the esmeralda testnet, use the --network flag:./tari_ootle_walletd --network esmeThe wallet will serve a web UI by default at http://localhost:5100. You can open this in your browser to manage your wallet and view transactions.
You can change this by using the --listen-on flag when starting the wallet daemon.
# Listens on 127.0.0.1:12345 instead of the default./tari_ootle_walletd --network esme --listen-on 127.0.0.1:123452. Creating your first account
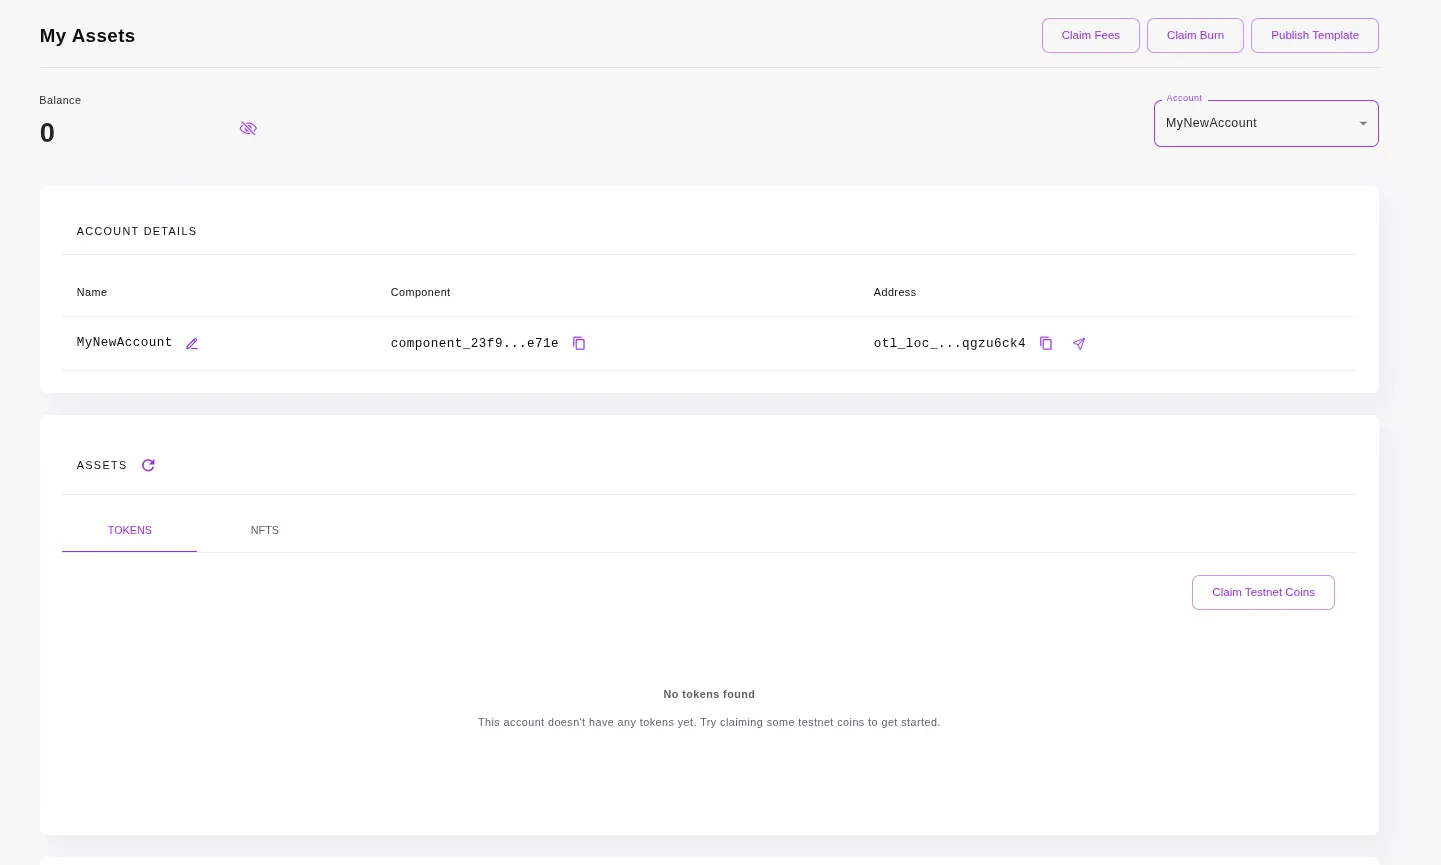
Section titled “2. Creating your first account”When you first start the wallet, it will prompt you to create a new “default” account. The only step is to name it. This account represents a secret key and associated address that you can use to send and receive funds. You can create multiple accounts if you wish, but for this guide we’ll just use the default account.
Once you create the account, you should see it in the wallet UI with a balance of 0.
3. Get funds from the faucet
Section titled “3. Get funds from the faucet”Once your wallet is running, you’ll need some funds to pay for transactions. You can get funds from the testnet faucet. The wallet has built-in support for the faucet, so you can request funds directly from the wallet UI.
Simply click the “Claim Testnet Funds” button.
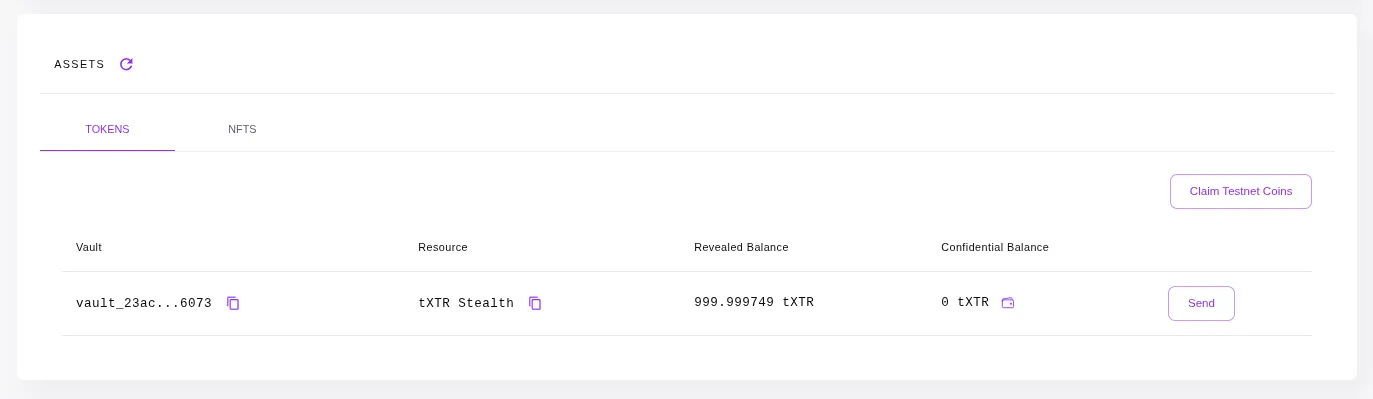
This will submit a transaction to the testnet faucet component, and create a new vault in your account that contains your funds.
You’re good to go! You can now use your wallet to send funds to your friends, publish templates, and explore the Tari L2 network.
4. Sending and Receiving funds
Section titled “4. Sending and Receiving funds”To send funds, click the “Send” button in the wallet UI. This will open a form where you can enter the recipient’s address and the amount you want to send.
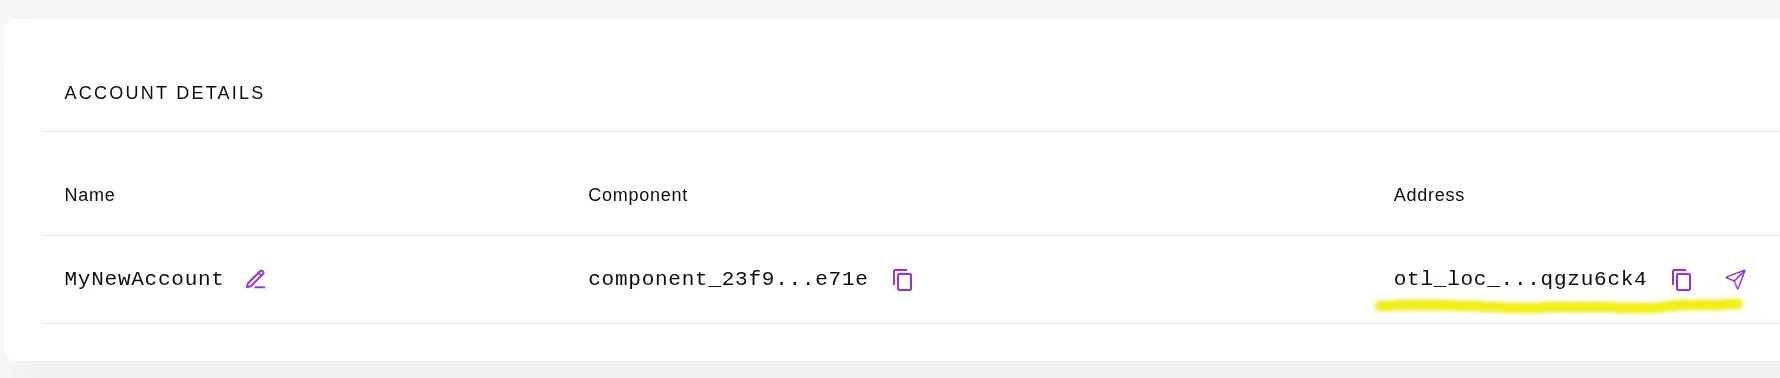
To receive funds, simply share your wallet address with the sender. You can find your wallet address under Account details > Address in the wallet UI.
5. A Note on Authentication
Section titled “5. A Note on Authentication”You may have noticed that the wallet didn’t require any authentication. This is because the wallet daemon currently defaults to no auth. This will surely change in future.
If you would like to enable authentication, pass --auth webauthn when starting the wallet daemon.
This will require you to register a passkey for the wallet.
./tari_ootle_walletd --network esme --auth webauthnWe’re done
Section titled “We’re done”Congratulations! If everything went smoothly you’ve successfully set up a wallet and connected it to the esmeralda testnet.
Next Steps
Section titled “Next Steps”Now that you have a running wallet, you can start exploring the Tari L2 network. Here are some next steps:
- Explore the wallet UI and get familiar with its features.
- Try sending and receiving funds with your wallet.
- If you’re ready to start learning about template development, head over to Templates Overview guide.